
Being a 3D printer enthusiast, hobbyist, or professional, you might encounter one major issue: moisture. Moisture is something that can destroy your 3D printing results, and since most filaments are hygroscopic (meaning they absorb moisture literally from thin air), you must learn how to avoid the issue and make your filaments moisture-free.
So, what’s the solution to this? A filament dryer. There are many filament dryers in the market, but when it comes to Chitu Systems FilaPartner E1, you can dry multiple filaments and also print using your 3D printer while drying your filaments in the chamber.
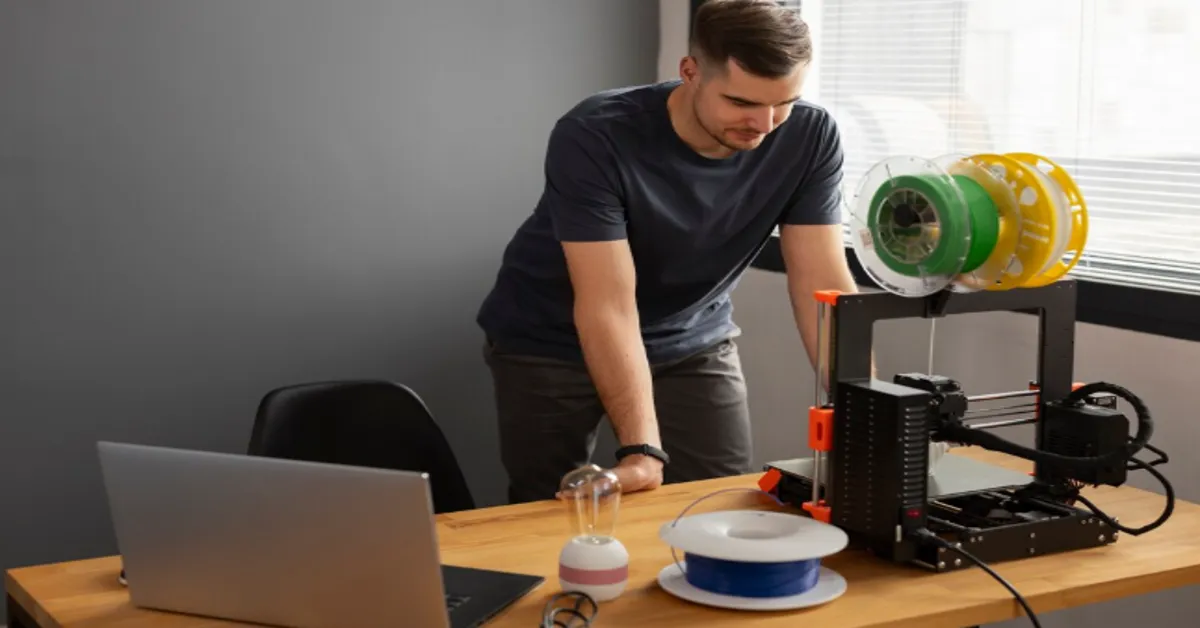
However, if you’re looking to build your own filament, then we are covering the perfect filament dryer DIY and how you can create your own dryer at home.
Why DIY a Filament Dryer?
A DIY filament can be quite beneficial for you, especially if:
- You don’t have the budget to buy a filament dryer (which can cost more than $100)
- You love making your own tools, and you’re good at it
- You need filament dryers for a short time due to a low-humidity environment
- You want to test how a filament dryer works before buying a dedicated filament dryer
A filament dryer is always going to be better than a DIY one since it is made to do that specific task. However, with the right instruction and precise building, you can absolutely create your own without any issues.
So, here are some of the best ways to create a DIY filament dryer.
- Creating a DIY Filament Dryer Using an Oven
The best filament dryer specifically for PLA, PETG, ABS, and Nylon is an oven. To build it, you only need a conventional oven, a baking tray, a thermometer, aluminium foil, or maybe a food-safe container.
Almost everyone has an oven in their home, and the method for drying your filament incorporates placing your filament in a preheated and low-temperature oven for several hours. By doing that, you will gently remove moisture.
Moreover, the key here is to keep the temperature consistent and low and check the actual temperature using a thermometer from time to time. Using a DIY filament dryer using an oven is ideal for anyone who is not looking to buy something extra and is already well-versed with an oven.
While an oven is a good option, it comes with some risk of overheating, too. So, you should always use a thermometer to check the temperature. That is because most overs have a little bit of inconsistent temperature than what you set and what it shows.
Pros:
- Easily accessible since we all own and have an oven in most cases.
- Cost-effective and comes with a smaller learning curve.
- Amazing for drying filaments since you still have temperature control to some degree.
Cons:
- The risk of overheating is huge.
- Temperature accuracy varies, which requires you to use a thermometer.
- Food Dehydrator
If you have filaments like PLA, PETG, and TPU, then one of the best tricks to build your own filament dryer is by using a food dehydrator. To build this setup, you only need a food dehydrator with temperature control and spacers for taller spools.
A food dehydrator is perfect for removing moisture from your food, which also makes it an amazing tool for drying your filaments. In order to make it work, you should remove some trays and modify the base so that all of your full-size filaments can fit inside.
Set the temperature between 45°C and 60°C for optimal results, but study what the perfect temperature for your filaments in general is. For a food dehydrator, usually, you will need to dry your filaments for 4-8 hours to make significant progress.
Pros:
- Safer and even drying compared to a full-sized oven.
- Quite energy efficient.
- Accurate temperature control.
Cons:
- You will need to modify it slightly to fit your spool.
- You can only fit one spool unless you have a big one.
- Heated Bed with an Enclosure
If you have filaments that need temporary fixes or emergency drying, then you can do the heated bed and enclosure combination method. For this one, you will need a 3D printer, an enclosure, and a thermometer to make progress.
With this method, you will use your printer’s heated bed as the main heating source. First, you will need to enclose your printer or place a box on the spool. This will trap the warmth and make the moisture disappear. For this method, you might need to place the spool on the bed of your 3D printer and let it sit for 6-12 hours to ensure proper drying.
While a heated bed with enclosure is not the ideal option, it still can dry your filament with precision. However, we don’t recommend you use this to dry all of your filaments because it is just overall quite risky and less efficient compared to other options that we’ve discussed above.
Pros:
- You can use your existing 3D printer to do the drying. No additional equipment needed.
- Low cost and quick setup which is ideal for most 3D printing users.
Cons:
- Temperature is not as consistent nor high as sometimes needed for some filaments.
- The drying effect is overall limited and might lead to some areas being unevenly dried.
- Your 3D printer will be compromised and you won’t be able to print anything anymore.
Final Verdict
A filament dryer might not be for everyone since it can cost you some money. If money is an issue, then you can build your own DIY filament dryer. But you should also know that a dedicated filament dryer will always be better than a DIY one.
Moreover, if you want other 3D printer accessories for your printing needs then you should check out Chitu Systems and their impressive product catalog.