
Introduction
When it comes to home improvement, few projects offer the same visual impact and return on investment as a kitchen upgrade. However, full kitchen renovations can be time-consuming, expensive, and disruptive. For homeowners seeking a faster, more affordable way to refresh their space, cabinet painting is one of the most effective solutions.
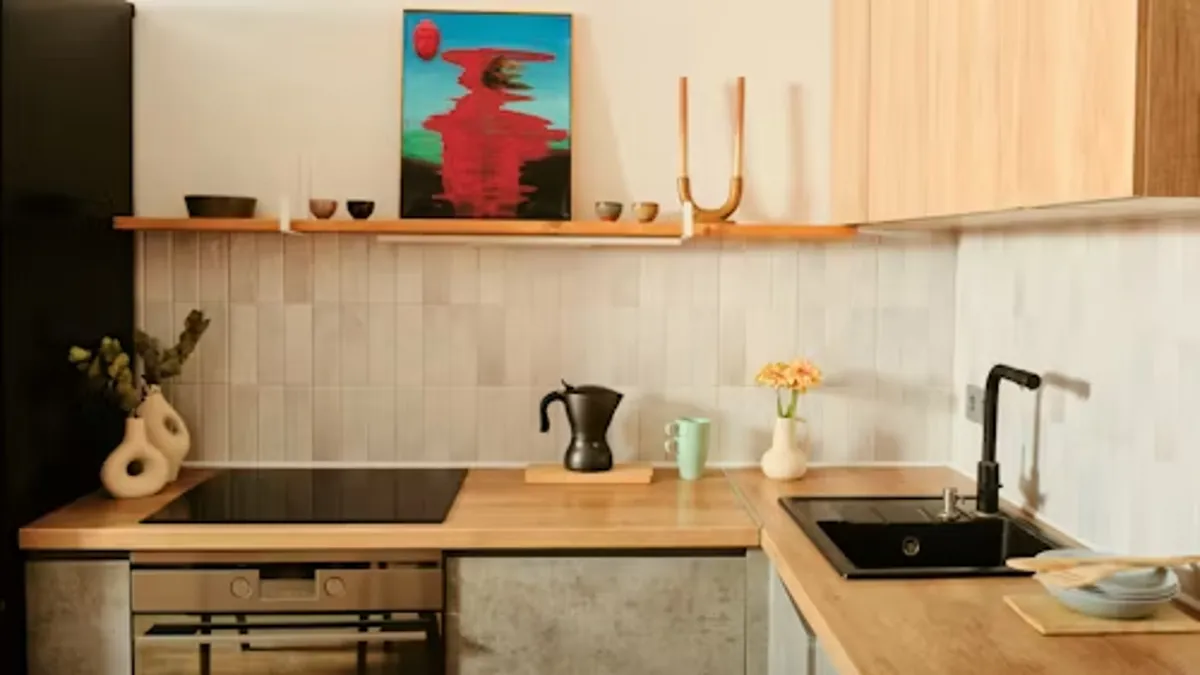
Your kitchen cabinets take up a significant portion of visual real estate in the room. Over time, they can become outdated, worn, or mismatched with your evolving interior style. Rather than replacing them, which involves demolition, carpentry, and high material costs, painting your cabinets can provide a complete transformation at a fraction of the price.
In this comprehensive guide, we’ll explore the benefits, process, options, and considerations involved in cabinet painting—whether you’re tackling it as a DIY project or hiring professionals. If you’re looking to breathe new life into your kitchen or bathroom, read on to discover how a fresh coat of paint on your cabinets can make a big difference.
Why Cabinet Painting is a Game-Changer
1. Cost-Effective Makeover
Replacing cabinets entirely is one of the most expensive components of a kitchen renovation. Custom cabinets can cost thousands—even tens of thousands—depending on materials and size. Painting, on the other hand, provides dramatic results for a fraction of the cost. You get the look and feel of a brand-new kitchen without the hefty price tag.
2. Minimal Disruption
A full remodel often means tearing out cabinets, rerouting plumbing, removing countertops, and possibly living without a functioning kitchen for weeks. With cabinet painting, you can often maintain the layout and function of your space while updates are underway. Some jobs can even be completed within a few days.
3. Customization and Style
Painting allows you to update your cabinets with a wide range of colors and finishes. Whether you’re going for modern matte black, crisp white, warm neutrals, or bold colors, cabinet painting gives you the flexibility to match your style and home aesthetic without being limited to what manufacturers offer.
4. Eco-Friendly Choice
By repainting instead of replacing, you reduce waste and keep usable cabinetry out of landfills. This approach is particularly valuable if your cabinets are structurally sound but simply need a visual refresh.
Is Cabinet Painting Right for You
Not all cabinets are ideal candidates for painting. Before starting the project, evaluate your existing cabinets:
- Material: Solid wood cabinets are the best for painting. MDF, laminate, and veneer can also be painted with proper preparation and products.
- Condition: Cabinets should be structurally sound. Issues like warping, water damage, or loose joints may require repairs before painting.
- Layout: If you’re happy with the layout and storage, painting is an excellent way to update the look without altering the function.
Popular Cabinet Painting Styles and Finishes
When choosing how to paint your cabinets, consider the overall aesthetic of your home:
- Classic White: Timeless and bright, white cabinets offer a clean and open feel.
Two-Tone Cabinets: Use a lighter color for upper cabinets and a darker shade below for a modern contrast. - Dark and Moody: Deep navy, charcoal, or forest green create a sophisticated and dramatic look.
- Neutral Greys and Beiges: For a subtle, warm tone that pairs well with most countertops and backsplashes.
- Chalk and Milk Paint Finishes: Offer a rustic or farmhouse feel with a soft, matte texture.
- High-Gloss Finishes: Ideal for contemporary kitchens, they reflect light and are easy to clean.
Your painting professional can provide samples and suggestions based on your space’s lighting, materials, and overall design.
The Cabinet Painting Process: Step-by-Step
Whether you’re working with a contractor or doing it yourself, the general steps involved in cabinet painting are as follows:
1. Preparation and Setup
- Remove all cabinet doors, drawers, and hardware (hinges, knobs, pulls).
- Label each piece to ensure proper reinstallation.
- Clean all surfaces thoroughly to remove grease, dust, and grime. A degreasing cleaner is essential for kitchen surfaces.
- Protect floors, countertops, and appliances with plastic sheeting and painter’s tape.
2. Sanding
- Lightly sand the cabinet surfaces to create a texture for the primer to adhere to. Use a fine-grit sandpaper (e.g., 120–150 grit).
- For slick surfaces like laminate, more aggressive sanding or a liquid deglosser may be needed.
3. Repairs and Caulking
- Fill in any holes, cracks, or dents with wood filler.
- Re-caulk seams where needed for a seamless finish.
4. Priming
- Apply a high-quality bonding primer. This step is crucial for achieving an even, long-lasting paint job.
- Let the primer dry completely, and lightly sand between coats if needed.
5. Painting
- Use a durable paint specifically designed for cabinetry—typically a semi-gloss or satin finish.
- Apply thin, even coats with a sprayer, brush, or foam roller. Two coats are standard.
- Allow proper drying time between coats.
6. Curing and Reassembly
- Let the paint cure for several days to ensure a hard, chip-resistant surface.
- Reattach hardware and reinstall doors and drawers.
DIY vs. Hiring a Professional Painting Company
DIY Advantages:
- Lower upfront costs
- Full control over the process
- Opportunity to learn new skills
DIY Challenges:
- Time-consuming and labor-intensive
- Requires tools like sprayers, sanders, and quality brushes
- Higher risk of uneven results or early wear
Hiring a Professional:
- Professionals bring experience, efficiency, and the right tools
- Surface prep and finish are more consistent
- They use commercial-grade primers and paints for better durability
- Most offer warranties on their work
If your cabinets are high-value or you’re short on time, investing in a professional cabinet painting service may yield better results and longer-lasting satisfaction.
Tips for a Flawless Cabinet Paint Job
- Always test your chosen color on a small area or sample board before committing.
- Don’t skip primer—it’s essential for adhesion and coverage.
- Avoid using wall paint; opt for cabinet-grade products designed for high-traffic surfaces.
- Allow for proper ventilation during painting and drying.
- Give cabinets adequate curing time before regular use to avoid scuffs and chips.
How Long Will Painted Cabinets Last?
With proper prep, application, and maintenance, painted cabinets can last 8 to 10 years or longer. Factors affecting longevity include:
- Quality of paint and primer used
- Frequency of cleaning and use
- Humidity and moisture exposure
- Type of material (wood holds paint better than laminate)
Touch-ups may be required over time, but when done correctly, cabinet painting is a durable and practical solution.
Maintaining Your Newly Painted Cabinets
Once your cabinets are painted:
- Clean regularly with a damp microfiber cloth—avoid harsh chemicals or abrasive pads.
- Wipe spills promptly to prevent moisture damage.
- Use bumpers on doors and drawers to reduce impact wear.
- Avoid slamming doors or drawers, which can cause paint to chip.
Routine maintenance will extend the life of your cabinets and keep them looking freshly painted for years to come.
Final Thoughts
Cabinet painting is one of the smartest home improvement choices for those seeking a high-impact transformation on a modest budget. It offers all the visual benefits of a full kitchen renovation—without the expense, waste, or downtime.
Whether you’re looking to modernize, brighten, or personalize your space, painting your cabinets can completely change the atmosphere of your kitchen or bathroom. When done properly, the results are durable, stylish, and undeniably impressive.
So, before you commit to a costly remodel or new cabinet installation, consider whether a high-quality paint job is all your cabinets really need. Sometimes, the biggest changes come from the simplest upgrades.