
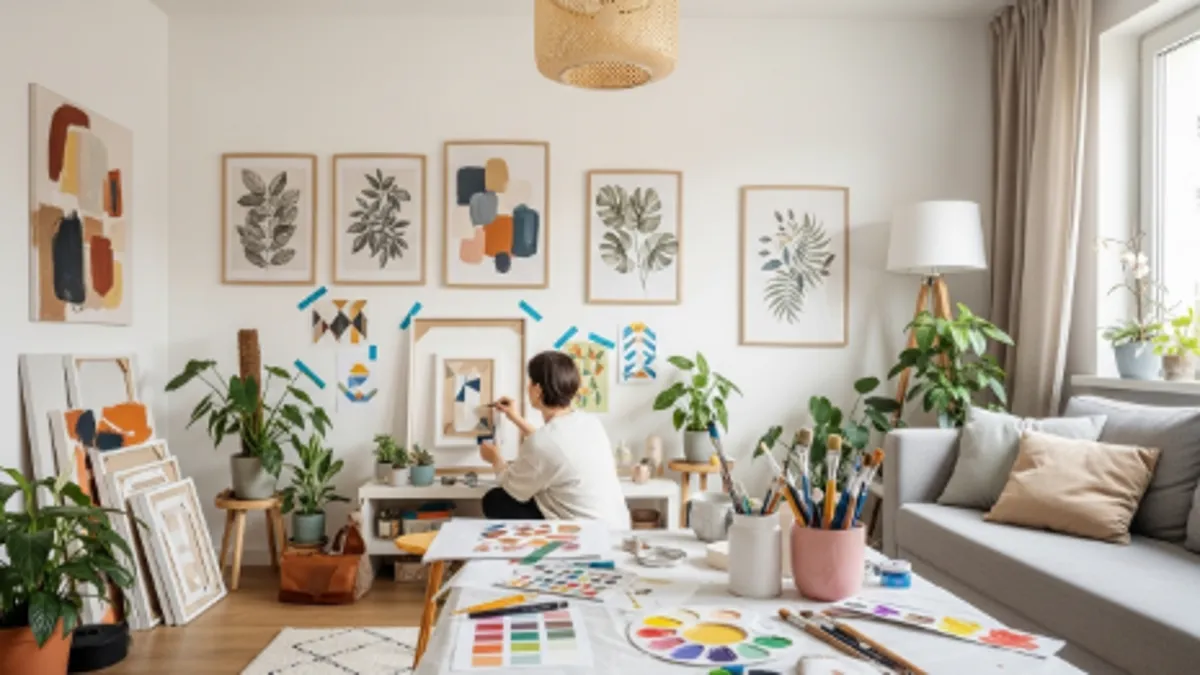
Picture this—you walk into your living room, and instead of blank walls staring back at you, you’re surrounded by art that tells your story. That’s the beauty of DIY wall art. It’s more than decoration; it’s a personal touch, a reflection of who you are, and a creative outlet all rolled into one. Whether you’re on a budget or simply love getting hands-on, DIY wall art can completely transform your living space.
Why DIY Wall Art Is the Perfect Home Upgrade
DIY wall art isn’t just about saving money—it’s about making something meaningful. When you craft your own art, every brushstroke tells your story. Plus, it’s a fun way to unwind, get creative, and make your home feel truly you. You can even start with beginner-friendly projects like customisable paint by numbers, which make the process effortless yet deeply personal.
Getting Started: Gather Your Tools and Inspiration
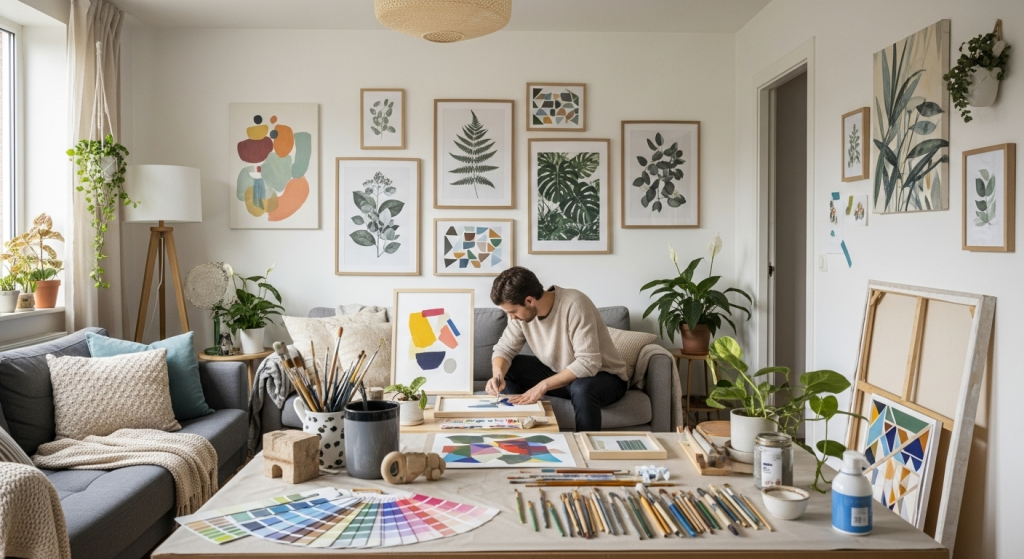
Before diving into painting or gluing, take a little time to prepare. Collect your supplies—canvas, paint, brushes, scissors, glue, and any materials you’d like to experiment with. Then, dive into inspiration: Pinterest boards, Instagram reels, or even nature walks. Sometimes, the shape of a leaf or a sunset’s gradient can spark a brand-new idea.
Choosing the Right Theme for Your Space
Your walls should reflect your personality and the mood you want your room to convey.
Matching Art with Your Room’s Vibe
Think about the energy of your space. Is it calm and cozy, or bold and eclectic? A serene bedroom might benefit from soft watercolor hues, while a vibrant living room could use striking geometric designs.
Playing with Color and Texture
Color has the power to transform how a room feels. Warm tones like terracotta and gold create coziness, while cooler shades like blue and green open up a space. Don’t shy away from texture either—mix smooth paint with rough materials like jute, fabric, or wood for a multi-dimensional effect.
Easy DIY Wall Art Ideas for Beginners
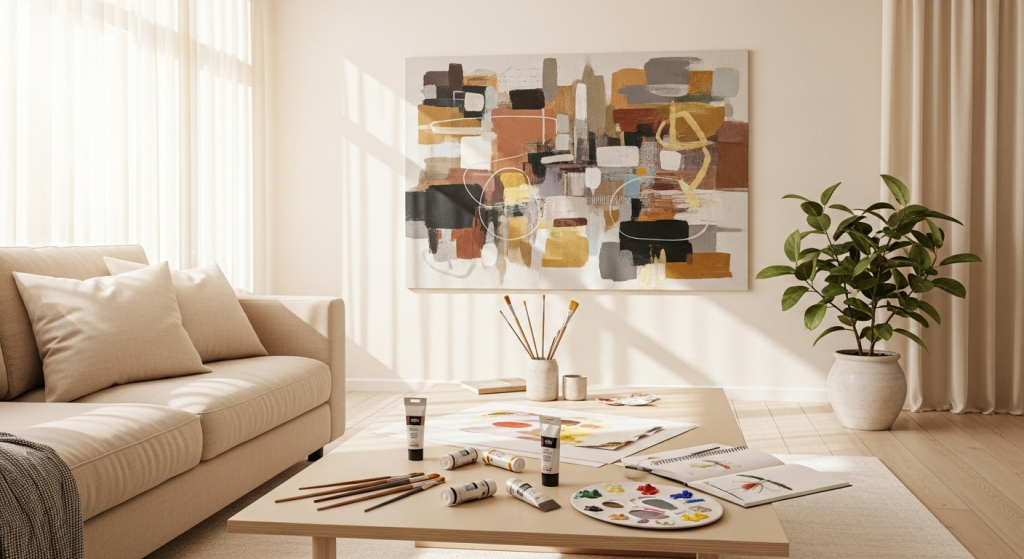
1. Abstract Canvas Paintings
Abstract art is all about freedom. Play with color, brushstroke, and movement—there’s no wrong way to do it. Layer paints, splash water for a watercolor feel, or use palette knives for texture. If you’re unsure where to start, try sketching out your color scheme first.
2. Framed Fabric or Wallpaper Panels
Got leftover wallpaper or fabric? Frame it! It’s one of the easiest ways to fill large wall spaces without splurging. Choose prints that complement your furniture or bring in a splash of contrast for drama.
3. Botanical Pressings and Nature Prints
Nature makes the best artist. Gather flowers, leaves, or ferns, press them flat between heavy books, then mount them in simple frames. The result? A timeless, organic look that never goes out of style.
4. Geometric Tape Art
Painter’s tape can turn any canvas into a masterpiece. Create triangles, stripes, or random shapes. Once painted and dried, peel the tape away to reveal crisp, modern lines. This method works great for both small art pieces and full accent walls.
Upcycling Magic: Turn Everyday Items into Art
Who says art supplies have to come from an art store? That old wooden crate, vintage magazine, or stack of unused tiles might be hiding your next masterpiece. Try making a collage from old postcards, a mirror frame from driftwood, or a mosaic from broken ceramics. Not only do these projects reduce waste, but they also add character and stories to your walls.
Personalized Wall Decor: Make It Uniquely Yours
Nothing beats art that feels personal. Print family photos, favorite travel memories, or even hand-written lyrics from a song that means something to you. You can also try modern DIY kits like customisable paint by numbers, which allow you to transform personal photos into paintable canvases—a perfect mix of guidance and creativity.
Personalized Wall Decor: Make It Uniquely Yours
Your home should feel like you, so don’t shy away from personalization. Print your favorite travel photos in black and white for a minimalist gallery wall. Or create a typography piece with your favorite quote using stencils or vinyl letters. Even hand-painted initials or family silhouettes can make your walls feel more meaningful.
How to Arrange and Hang Your DIY Art
Arrangement matters as much as the art itself. Lay your pieces out on the floor before hanging to test different layouts. Mix small and large frames for visual balance. A gallery wall looks best when there’s a consistent theme—whether it’s color, frame style, or subject matter. And here’s a little hack: use paper templates taped to the wall before hammering in nails to ensure perfect placement.
Budget-Friendly Tips for DIY Wall Projects
DIY doesn’t mean you have to break the bank. Shop at thrift stores for frames, repurpose old canvases, or use digital prints you can make at home. Acrylic paints are affordable and versatile, and natural materials like twigs, sand, or shells cost next to nothing. Sometimes, the best pieces come from the simplest supplies.
Common Mistakes to Avoid
Even seasoned DIYers make mistakes—here’s how to dodge a few:
- Overcrowding your wall. Give your art space to breathe.
- Ignoring scale. Large walls need big art or a collection of smaller ones to look balanced.
- Skipping the prep. Clean, sand, and prime surfaces before painting or gluing to ensure longevity.
- Forgetting lighting. The right lighting can make your wall art pop. Consider warm light for cozy tones or bright white for vibrant colors.
Final Thoughts: The Joy of Creating Your Own Wall Art
DIY wall art is more than just a home project—it’s a reflection of your creativity, your story, and your unique sense of style. When you hang that final piece, it’s not just about decoration; it’s about pride. Every brushstroke, every cut of fabric, every tiny imperfection adds to its charm.
So, grab that paintbrush, roll up your sleeves, and start transforming your living space one wall at a time. You’ll be surprised at how much a few creative hours can change not just your room—but how you feel inside it.