
Hey there, fellow DIY enthusiasts and project lovers! If you’ve ever wanted to give your creations that extra shine and protection, you’re in the right place. Today, we’re diving into the world of Clear Coat Aerosol Spray and the trusty Aerosol Cans that make it all possible. Whether you’re sprucing up your car, sealing a craft project, or adding a glossy finish to furniture, this guide will walk you through everything you need to know. Let’s get started!
What Is Clear Coat Aerosol Spray?
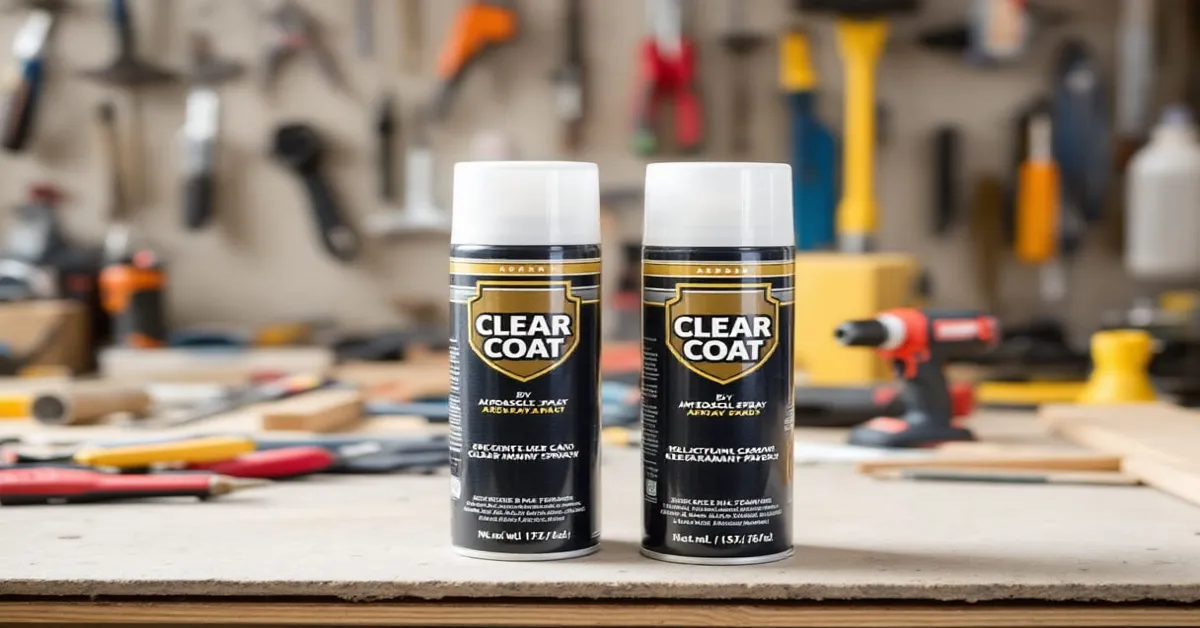
Clear Coat Aerosol Spray is like a magic shield for your projects. It’s a transparent, protective layer that you spray over surfaces to keep them looking fresh and fabulous. Think of it as a topcoat that not only adds a glossy finish but also guards against scratches, UV rays, and even rust. It’s a go-to for anyone working on cars, wood, metal, or even plastic surfaces. And the best part? It’s super easy to use, thanks to those handy Aerosol Cans.
Why Aerosol Cans Are a Game-Changer
Now, let’s talk about the real MVP here: the Aerosol Can. These little guys are pressurized containers that turn the clear coat liquid into a fine mist. That means you get an even, smooth application every time—no brushes, no mess, just a quick spray and you’re good to go. They’re perfect for both beginners and pros because they make the whole process feel like a breeze. Plus, they’re portable, so you can take them anywhere your project takes you.
How to Use Clear Coat Aerosol Spray Like a Pro
Alright, let’s get down to business. Using Clear Coat Aerosol Spray is pretty straightforward, but a few tips can make all the difference. First things first, always prep your surface. Make sure it’s clean, dry, and smooth. If you’re working on something like wood, give it a light sand for the best results. Now, grab your Aerosol Can and shake it like you mean it—about 60 seconds should do the trick. This mixes everything up so you get a consistent spray.
When you’re ready to spray, hold the can about 8-12 inches away from the surface. Use steady, sweeping motions to cover the area evenly. Don’t go too heavy on the first coat; it’s better to build up with thin layers. Let each coat dry for 10-15 minutes before adding another. And here’s a little secret: if you want that mirror-like finish, lightly sand between coats with super-fine sandpaper (2000-grit works wonders). It’s like giving your project a spa day!
Insider Tips and Tricks
Want to take your skills to the next level? Here are some insider tips that’ll make you feel like a clear coat wizard:
- Weather Watch: Humidity can be a sneaky enemy. If it’s muggy out, warm your Aerosol Can in lukewarm water for 5 minutes before spraying. It helps the clear coat flow better and avoids bubbling.
- Nozzle Know-How: After you’re done, flip the can upside down and spray for a few seconds. This clears the nozzle and keeps it from clogging next time.
- Layer Love: Three thin coats are better than one thick one. It dries faster and looks smoother—trust me on this!
Why Quality Aerosol Cans Matter
Here’s the deal: not all Aerosol Cans are created equal. For businesses looking to sell Clear Coat Aerosol Spray products, picking a solid supplier is a must. You want cans that spray evenly and don’t jam up halfway through a job. I’ve seen some cheaper cans sputter or leak, and it’s a headache no one needs. A good Aerosol Can should feel sturdy, have a reliable nozzle, and deliver the clear coat exactly where you want it. Some come in cool designs too—like necked-in or straight-wall styles—which can make them easier to handle or stack.
And let’s not forget the aerosol valves. Those tiny parts inside the can control the spray pattern and flow. If they’re low-quality, you might end up with a patchy finish or a can that quits on you. Businesses need a supplier who can keep those valves coming, especially during busy seasons like summer when everyone’s fixing up their cars or outdoor furniture. A steady supply means happy customers, and that’s what it’s all about, right?
FAQs: Your Burning Questions Answered
As someone who’s been around the block with Aerosol Cans, I’ve heard it all. Here are 10 common questions and answers to help you out:
- What surfaces can I use Clear Coat Aerosol Spray on?
You can spray it on metal, wood, plastic, and even painted surfaces—just make sure they’re clean and dry first. - How do I stop the nozzle from clogging?
After use, turn the can upside down and spray for 2-3 seconds to clear it out. - Are Aerosol Cans recyclable?
Yes! Aluminum and steel cans can be recycled, but make sure they’re empty first. - Can I use it in cold weather?
Try to keep it above 50°F (10°C). If it’s chilly, warm the can a bit before spraying. - How long does it take to dry?
It’s touch-dry in about 30 minutes and fully cured in 24-48 hours, depending on the weather. - Are all aerosol valves the same?
Nope, they’re specific to the can and product. Your supplier can help match them. - How do I ensure a steady supply of aerosol valves?
Work with a supplier who offers backup stock and can handle demand spikes—like during summer car repairs. - What’s the shelf life of Clear Coat in a can?
Usually 2-3 years if stored in a cool, dry place below 120°F (49°C). - Can I customize my Aerosol Cans?
Many suppliers offer options like printing or unique sizes to match your brand. - Why is my clear coat bubbling?
Could be too much spray or moisture. Prep well and use thin coats to avoid it.
Wrapping It Up
Clear Coat Aerosol Spray and Aerosol Cans are a dynamic duo for anyone looking to protect and polish their projects. Whether you’re a weekend warrior or a business stocking shelves, this combo can’t be beat. With a little know-how—like prepping your surface and mastering those thin coats—you’ll be turning out pro-level finishes in no time. For businesses, it’s all about quality and reliability, so teaming up with a solid supplier (check out options like those at this site) can make all the difference. So, grab your Aerosol Can, get creative, and let’s make something awesome together!