
Capturing cinematic underwater shots isn’t just about the right equipment—it’s about mastering natural light and shadows. The interplay between light filtering through water and the shadows it creates can transform your underwater footage into stunning visual art. Understanding how to use these elements effectively will elevate your storytelling and create a truly immersive experience.
In this article, you’ll learn how to harness natural light to highlight textures, colors, and movement beneath the surface. From positioning to timing, we’ll guide you through techniques that make the most of sunlight’s unique behavior underwater. Whether you’re a beginner or a seasoned filmmaker, these tips will help you achieve striking, professional-looking results.
Understanding Natural Light and Shadows Underwater
Natural light behaves differently underwater than it does on land. Shadows shift more dynamically due to the interplay of light rays with the moving water surface and the varying depths.
The Behavior of Light Beneath the Surface
Light penetration decreases as the water depth increases. Red tones vanish first, followed by orange and yellow, leaving cooler blue and green hues at greater depths. Light travels in straight rays but scatters as particles in water create diffusion. This scattering can soften shadows and reduce contrast. For cinematic effects, understanding how sunlight filters through the water at different times of day and angles can help you decide where and when you shoot.
Factors Influencing Light and Shadow Underwater
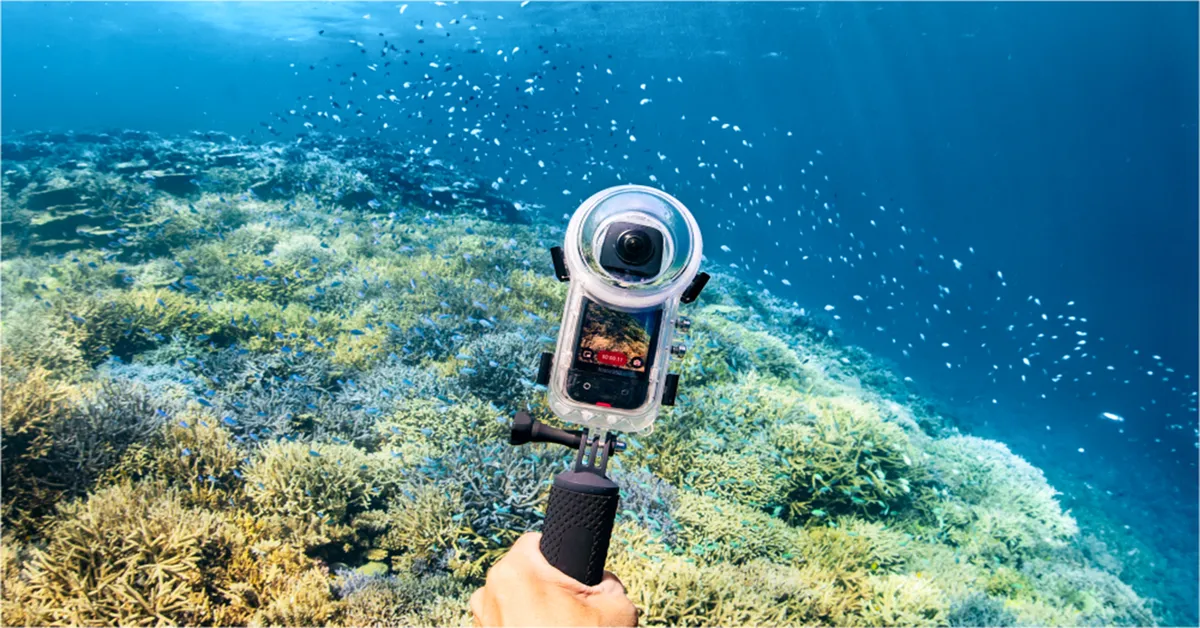
Water clarity directly impacts light intensity. Clear water allows sunlight to travel deeper, improving visibility and detail, while murky water diffuses light and dulls your image. Surface movement also plays a role—calm water yields smoother, more consistent shadows, whereas ripples and waves introduce dynamic light distortions. Using Insta360 diving cameras, which are designed to handle changing underwater lighting conditions, can help you capture vivid scenes with greater control and depth.
Equipment and Preparation for Cinematic Shots
Efficient preparation and equipment choices improve the quality of cinematic underwater shots. Strategic selection enhances natural light use and shadow interplay.
Choosing the Right Camera and Lenses
Select cameras offering manual control over ISO, aperture, and shutter speed to adjust for underwater light dynamics. Use lenses with moderate apertures, such as f/8-f/16, to capture sharp details while maintaining a balanced depth of field.
Wide-angle lenses cover broader scenes with more natural light. Set ISO values based on lighting—ISO 100-400 works well in shallow, bright waters, while depths or low-light settings may require ISO up to 800.
Pre-dive Planning for Optimal Light Conditions
Plan shoots during early morning or late afternoon for optimal light rays and softer shadows. Shallow depths of 5-10 meters allow better sunlight penetration, preserving vibrant details and reducing shadow distortion.
Clear water is critical for sharp lighting and well-defined shadows. Align your timing with calm weather conditions to avoid excess water movement, which scatters light unpredictably.
Techniques to Harness Natural Light
Enhancing underwater shots requires using natural light effectively to reveal textures, colors, and movement. Strategic positioning and understanding light behavior underwater are critical.
Positioning for Sunlight and Shadows
Direct overhead sunlight creates bold contrasts, highlighting the textures of hard corals and sandy floors. For softer illumination and defined colors, position the subject with the sunlight behind or to the side of your camera. Shooting against the light emphasizes silhouettes and dynamic shadows, giving a scene depth. Avoid placing the light source directly in front of your subject, as it flattens details and reduces dimension.
Using Reflections and Diffusions for Creative Effects
Reflected sunlight, bouncing off coral surfaces or sandy seabeds, can illuminate shadowed areas or enhance underexposed sections. The uneven diffusion of sunlight through water produces dappled patterns on subjects, which can add mood and interest. Adjust white balance settings to neutralize color shifts caused by water filtering blue and green tones, ensuring more vibrant and natural results.
Timing Your Shoots with the Sun’s Movement
Midday sunlight penetrates water most effectively, saturating colors and creating uniform lighting. Early morning or late afternoon produces angled light that creates elongated shadows and warmer tones, suitable for artistic compositions. Shallower depths benefit the most from natural light, but the timing depends on water visibility and the sun’s position to capture balanced exposures.
Enhancing Composition with Shadows
Shadows play a critical role in defining forms and directing focus in underwater photography. For any filmmaker capturing scenes below the surface, using sunlight and shadow creatively helps outline subjects, add contrast, and build visual interest.
Creating Depth and Drama with Shadows
Position the sun behind or beside the subject to project elongated shadows for dimensionality. This method creates depth similar to cinematic techniques, enhancing the perception of space. Schedule sessions early or late in the day, as low-angle sunlight produces softer, dramatic shadows. For instance, capturing a coral reef during these times can emphasize its texture and structure by stretching shadows across the ocean floor.
Balancing Light and Shadow for Visual Impact
Avoid shooting under intense overhead light, as it diminishes shadow depth and flattens your image. Opt for angled or diffused light that highlights colors and details while maintaining balanced shadows. Adjust settings like aperture (f8–f16) and ISO at lower values to reduce overexposure in bright areas. This approach ensures shadow-rich, striking images without losing highlights or vibrant tones.
Common Challenges and How to Overcome Them
Underwater photography presents unique challenges that demand adaptability and precision to capture cinematic shots with natural light and shadows effectively.
Adjusting to Changing Light Conditions
Lighting varies greatly with depth, time of day, and water movement. Quick adjustments to settings like ISO, aperture, and shutter speed can help balance exposure and maintain image quality. For instance, lower ISO (100–400) minimizes noise in bright conditions, while aperture adjustments (e.g., f/8–f/16) provide better depth of field. Monitor sunlight angles when changing depths or moving through shaded areas to ensure consistent illumination. Cameras like Insta360 make these adjustments more manageable with intuitive controls and adaptive exposure features suited for underwater environments.
Managing Visibility and Water Clarity
Water clarity impacts sharpness and color fidelity. Close proximity to subjects reduces interference from floating particles. For dim or murky conditions, adding artificial light supplements natural light effectively, improving image detail. Use angles that avoid backscatter, small particles causing unwanted glare in your frame, for cleaner visuals.
Conclusion
Mastering natural light and shadows underwater opens up endless creative possibilities for your cinematic shots. By understanding how light behaves beneath the surface and planning your shoots with precision, you can elevate your underwater visuals to a professional level.
Every element, from the sun’s position to water clarity, plays a role in shaping the mood and depth of your images. With the right techniques and equipment, you’ll be able to harness these factors effectively, creating stunning compositions that captivate and inspire.
Embrace the challenges and experiment with light and shadows to bring your underwater storytelling to life.