
A range hood serves as one of the most essential appliances in modern kitchens, effectively removing smoke, grease, steam, and cooking odors while improving air quality. Whether you’re sautéing vegetables or searing steaks, proper ventilation protects your kitchen from accumulated moisture and airborne particles that can damage cabinets and walls over time. Range hoods come in various configurations, including wall-mounted, under-cabinet, island, and downdraft models, each designed to suit different kitchen layouts and cooking styles.
Installing a quality kitchen hood offers numerous advantages beyond odor elimination. It reduces the risk of grease buildup on surfaces, minimizes heat accumulation during cooking, and helps maintain a comfortable environment for family and guests. Additionally, proper ventilation can increase your home’s value and prevent potential health issues associated with prolonged exposure to cooking fumes and carbon monoxide from gas stoves.
Understanding the installation process for a 36-inch range hood empowers homeowners to make informed decisions about whether to tackle this project independently or hire professionals. This guide walks you through everything from assessing your ventilation needs to completing the installation successfully.
Understanding Your Needs
Determining whether you need a kitchen hood depends primarily on your cooking frequency and methods. If you cook daily, especially with high-heat techniques like frying or wok cooking, a range hood becomes essential rather than optional. Gas stoves particularly require adequate ventilation due to combustion byproducts, while electric cooktops benefit from hoods that capture steam and grease particles. Homes with open-concept layouts need stronger ventilation systems since cooking odors and moisture can quickly spread throughout living spaces.
Selecting the appropriate size involves matching your hood width to your cooktop dimensions. A 36 inch kitchen hood pairs perfectly with a standard 36-inch range, though some designers recommend extending the hood slightly beyond the cooktop edges for maximum capture efficiency. Beyond width, consider the hood’s CFM (cubic feet per minute) rating, which measures airflow capacity. Calculate your needs by multiplying your kitchen’s cubic footage by 15 for electric stoves or 20 for gas ranges, then dividing by 60 to determine the minimum CFM required.
Proper ventilation extends beyond comfort to safety and structural integrity. Inadequate airflow allows moisture to condense on surfaces, potentially causing mold growth, paint deterioration, and cabinet warping. Effective ventilation also removes harmful pollutants including nitrogen dioxide and carbon monoxide, creating a healthier cooking environment for everyone in your household.
Types of Kitchen Hoods
Ducted Hoods
Ducted range hoods connect directly to exterior ductwork that channels contaminated air outside your home. When you activate the fan, it creates negative pressure that pulls cooking fumes, smoke, and moisture through filters before expelling them through pipes that terminate at an exterior wall or roof vent. This system requires physical ductwork installation, which typically runs vertically through cabinets and ceiling spaces or horizontally through walls, depending on your kitchen configuration and the hood’s mounting location.
The primary advantage of ducted systems lies in their superior performance. By completely removing pollutants from your home rather than recirculating them, these hoods maintain genuinely fresh air quality and handle high-volume cooking more effectively. They eliminate moisture entirely, preventing condensation issues, and don’t require filter replacements beyond the basic grease filters that trap particles before they enter the ductwork. Ducted hoods also operate more quietly at equivalent power levels since they don’t need to push air through dense charcoal filters.
However, ducted installations present several challenges. They require existing ductwork or the ability to install new ducts, which isn’t always feasible in apartments, condominiums, or homes where exterior walls are inaccessible. Installation costs run significantly higher due to the complexity of running ductwork, potentially requiring carpentry work to create pathways through cabinets or walls. Improper duct sizing or excessive bends can dramatically reduce efficiency, and poorly sealed connections may leak conditioned air from your home. Additionally, ducted systems can create backdraft issues if your home lacks adequate makeup air, particularly in tightly sealed modern constructions.
Ductless Models
Ductless range hoods, also called recirculating hoods, filter cooking air through charcoal or carbon filters before returning it to your kitchen. These self-contained units draw air through multi-layer filtration systems that capture grease particles in metal mesh filters, then pass the air through activated charcoal filters that absorb odors and some gaseous pollutants. After this filtration process, the cleaned air recirculates back into your kitchen space, requiring no external venting infrastructure.
The convenience factor makes ductless hoods appealing for many homeowners. Installation takes considerably less time and money since you don’t need to cut holes through walls or ceilings, making them ideal for rental properties, apartments with building restrictions, or kitchens where ductwork installation proves impractical. They work in any location regardless of proximity to exterior walls, offering flexibility for island installations or kitchens with complex layouts. Ductless models also avoid the energy loss associated with expelling heated or cooled air outside, potentially reducing utility costs in climate-controlled homes.
Despite these advantages, ductless hoods have notable limitations. They cannot remove moisture from your kitchen, which means steam from boiling water or cooking pasta will still condense on surfaces and potentially cause humidity problems. The charcoal filters require replacement every three to six months depending on cooking frequency, creating ongoing maintenance costs and environmental waste. Filtration efficiency decreases as filters become saturated, and even fresh filters cannot match the complete pollutant removal that ducted systems achieve. Ductless hoods also tend to operate louder since they must push air through dense filter media, and they prove less effective for high-output cooking that generates substantial smoke or strong odors that overwhelm the carbon filters’ absorption capacity.
Range Hood Installation
The installation process begins with careful preparation and measurement. First, locate wall studs using a stud finder and mark their positions, as your mounting bracket must anchor securely into structural framing rather than just drywall. Measure the centerline of your cooktop and transfer this measurement up the wall to ensure perfect alignment. Check the manufacturer’s specifications for the recommended mounting height, typically 24 to 30 inches above electric cooktops or 28 to 36 inches above gas ranges, then mark this position clearly.
Essential tools include a drill with appropriate bits for both pilot holes and larger ductwork openings, a level to ensure straight installation, screwdrivers or a power driver, a reciprocating saw or jigsaw if cutting new duct openings, measuring tape, pencil, and safety equipment including goggles and a dust mask. Materials needed comprise the range hood unit itself, mounting hardware (usually included), ductwork components if installing a ducted system, duct tape or metal foil tape for sealing connections, wire nuts for electrical connections, and potentially a junction box if one doesn’t exist at your installation location.
Begin installation by mounting the support bracket according to manufacturer instructions, ensuring it’s level and securely fastened to studs. If installing a ducted system, cut the necessary openings for ductwork before hanging the hood, then assemble duct sections with smooth, sealed connections that minimize airflow resistance. Connect the electrical supply after shutting off power at the circuit breaker, following local electrical codes and the hood’s wiring diagram. Lift the hood into position with a helper since these units are heavy and awkward, then secure it to the mounting bracket. Finally, install ductwork connections if applicable, attach the decorative chimney or cover pieces, and test all functions before completing the project.
Estimating Costs
Several variables significantly impact the total expense of range hood installation. The hood type represents the first major cost consideration, with basic under-cabinet models starting at lower price points while professional-grade wall-mounted or island hoods commanding premium prices. Ducted installations inherently cost more than ductless setups due to ductwork requirements, and the complexity increases dramatically if you need to route ducts through multiple floors or make extensive structural modifications. Labor costs vary by region and contractor expertise, with metropolitan areas typically charging higher rates than rural locations. Your kitchen’s existing infrastructure also matters—homes with pre-existing ductwork and properly positioned electrical outlets require minimal additional work, while kitchens needing new electrical circuits, extensive ductwork fabrication, or structural alterations will see costs escalate quickly.
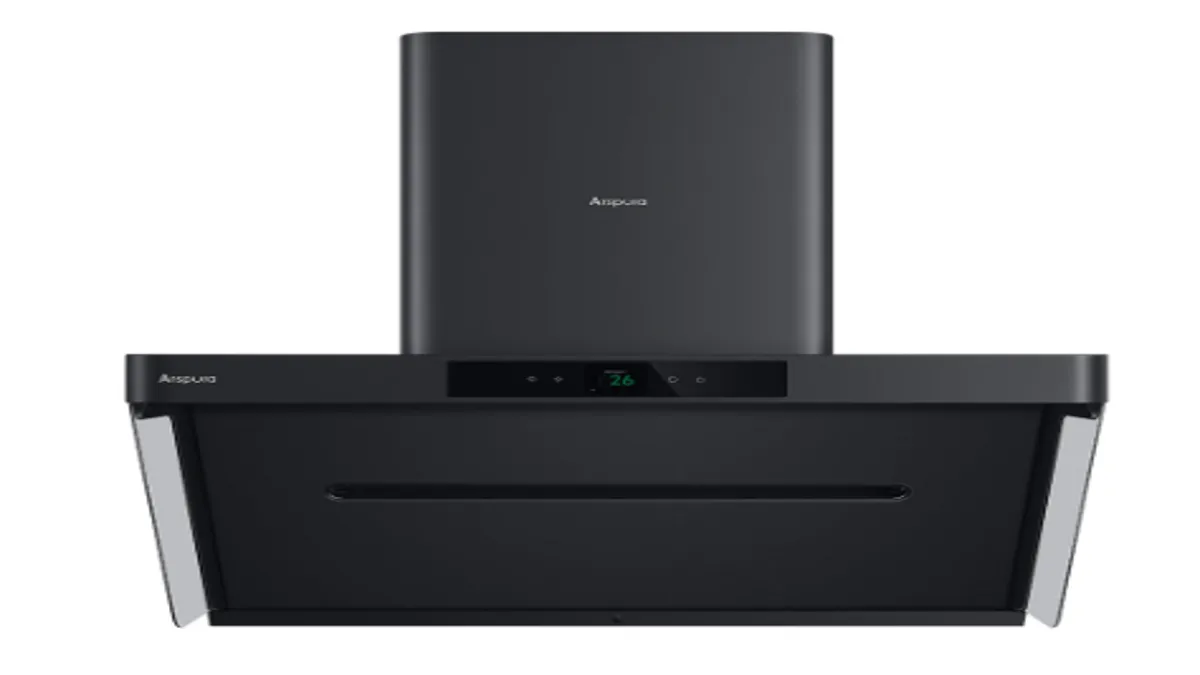
A typical 36-inch range hood installation breaks down into distinct cost categories. The hood unit itself forms the largest expense, though prices span a wide spectrum based on features, materials, and brand reputation. Brands like Arspura offer options across various price points to accommodate different budgets and kitchen requirements. Professional installation labor generally accounts for the second-largest portion, with straightforward ductless installations requiring just a few hours while complex ducted systems may demand a full day or more. Ductwork materials including rigid or flexible ducts, elbows, wall caps, and mounting hardware add moderate expenses for ducted systems. Electrical work contributes additional costs if you need circuit upgrades, new junction boxes, or dedicated breaker installation to meet code requirements. Permit fees apply in many jurisdictions for electrical and structural modifications, and some installations require supplementary materials like wall repair supplies, paint for touch-ups, or custom cabinetry modifications. Homeowners choosing DIY installation eliminate labor costs but should budget for tool purchases or rentals if they lack the necessary equipment. Setting aside a contingency fund of ten to fifteen percent proves wise since unexpected complications like hidden obstacles in walls or outdated wiring frequently emerge during renovation projects.
Achieving Optimal Kitchen Ventilation
Installing a 36-inch range hood transforms your kitchen into a healthier, more comfortable cooking space by effectively removing smoke, grease, moisture, and odors. Understanding your specific ventilation needs based on cooking habits and stove type helps you select between ducted systems that completely expel pollutants or ductless models that offer installation flexibility. Each option presents distinct advantages—ducted hoods deliver superior performance and moisture removal, while ductless units provide convenient installation without exterior venting requirements. The installation process itself demands careful planning, proper measurements, and attention to electrical and structural requirements to ensure optimal performance and safety.
Before beginning your installation, verify local building codes and permit requirements, as many jurisdictions mandate professional electrical work or inspections for ventilation modifications. Take time to measure twice and cut once, ensuring your hood aligns perfectly with your cooktop for maximum efficiency. If you’re uncomfortable with electrical work or ductwork fabrication, hiring qualified professionals prevents costly mistakes and ensures code compliance. Whether you choose DIY installation or professional services, investing in quality ventilation pays dividends through improved air quality, reduced maintenance on kitchen surfaces, and enhanced cooking experiences. Start by assessing your kitchen layout and cooking needs today, then take the next step toward better ventilation and a more enjoyable culinary environment.